DIY shaker wall panelling in 7 easy steps

Why DIY shaker wall panelling? Shaker wall panels are a timeless addition to any interior space and a really great way to add character to new-build or featureless homes.

In this tutorial, I’ll walk you through my DIY installation process for the simplest of all wall panelling styles. Shaker-style MDF wall panelling is a fantastic first DIY to try if you don’t have a lot of experience, as MDF is so easy to cut and it’s a very simple and straightforward installation. With the right tools and materials, you can achieve a professional finish and transform your interior walls with this simple yet sophisticated design, and I’ll share my DIY tips and tricks, like how to make the most of the free cutting service offered by B&Q.
If you want to inject the maximum character into the space, there are a number of ways to elevate DIY shaker wall panelling, such as adding a layer of picture frame moulding to the interior perimeter of each wall panel or adding a more elaborate dado rail on top. After we’ve walked through the basic’ how-to, ‘ we’ll look at all the ways you can elevate DIY shaker wall panelling.
How to install shaker wall panelling with MDF strips
Before you start
You’ll need to create a design plan, which basically just means deciding how you are going to attach the shaker wall panels to the wall. There are a couple of options that will affect the materials you require.
Should I use glue or panel pins for shaker wall panelling?

When installing wall panelling, I opt for the easiest method, which is simply glueing the MDF strips to the wall surface with grab adhesive. It’s quick, cheap and works well. The only downside to this method is that if you ever want to remove the panelling, you can get holes in the wall surface when you pull the strips off, as the glue brings chunks of plaster (or plasterboard with it). I have plenty of tutorials on how to repair holes in plasterboard and how to skim walls if this is an issue you encounter, or you might decide that you’ll leave the panelling on forever, and it won’t be an issue. As a serial redecorator, I tend to install and remove wall panelling regularly – certainly more often than a ‘normal’ sensible person!
To avoid wall damage from wall panelling removal, you can install a large sheet of mdf over the surface (by screwing into the wall) and attach the MDF strips to this with panel pins. This method has the advantage of adding extra thickness to the wall, making the panels more pronounced. If your walls are plasterboard (drywall) you could use panel pins straight through the mdf strips and into the wall surface, this saves the expense of an extra mdf sheet and will make removal much less damaging, but you might have some minor making good to do from the panel pin holes.
The following tutorial is based on my method of sticking the shaker-style mdf strips to the wall, so adapt accordingly if you want to pin instead.
You will need
- MDF sheeting cut into strips – read where I source mine here
- Tape measure
- Laser level or spirit level
- Circular saw or hand saw
- Electric sander
- Wood filler
- MDF primer
- Caulk tube or cartridge with caulking gun
- Grab adhesive (non-solvent)
- Paint
- Paintbrush and mini roller with tray
- Dado rail (optional)
1. Shaker wall panelling – planning

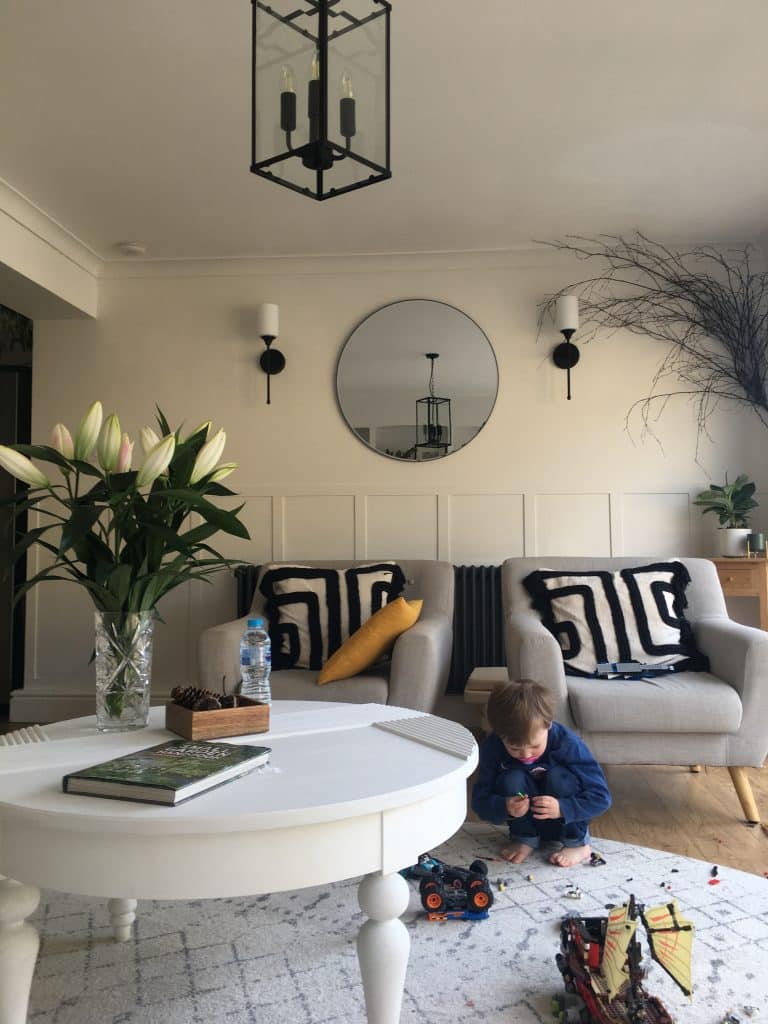
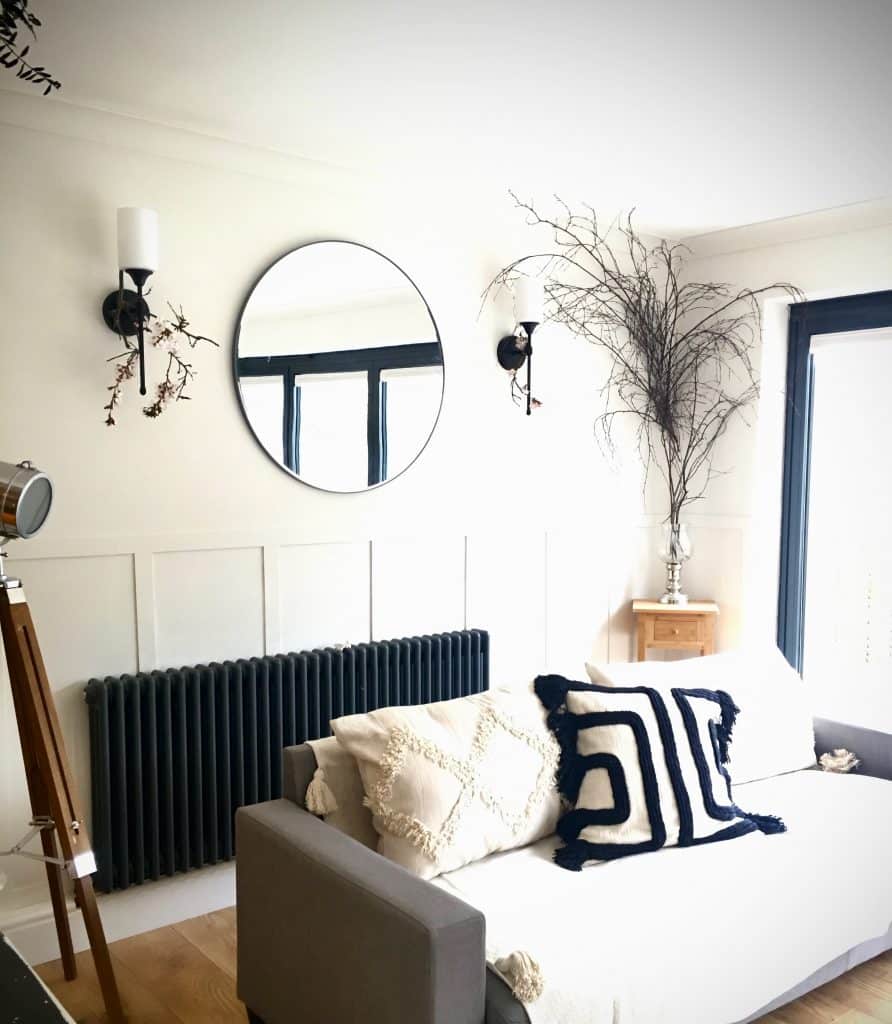
Plan a design layout, whether it’s tall rectangular or shorter square panels (the accompanying images are for rectangular)
Decide how tall you want the panels to be. Half-wall panelling is a great way to add character without making the room feel smaller. 3/4 height works well for feature walls, e.g., behind a headboard of a bed, where half-height might not make an impact. Full-height panelling looks great in large spaces or for feature walls, but it can feel a bit oppressive on all walls in a small space, so bear that in mind.
Decide if you want wide panels or narrower ones. I recommend doing some Pinterest or Instagram research to determine the look you prefer as there is a wealth of inspirational wall panelling imagery out there.
Decide on how wide you want the MDF strips to be – I tend to go for 5cm/50mm as this is a good width and makes the calculations easier too!
How to calculate the size layout of the shaker wall panels
Once you know the style and height of the panels, measure the length and height of your wall space.
Consider the overall structure of the wall and any obstacles, such as plug sockets or switches.
If you prefer narrow panels, you’ll want to aim for around 30cm width, whereas wider panels could be anywhere from 45cm – 60cm.

There are two ways to calculate the exact width of the panels – the first relies on you having the panelling strips so you can place them loosely against the wall to get an idea of how many look best. This way is handy because you can physically move them around until you are happy with the overall look and know the correct number of strips required.
The second involves sketching out the wall to scale or marking up the panels on a photo. Whichever way you choose, you need to decide how many panels you want first to determine the exact dimensions of the shaker panels.
To decide on the exact width of the wall panels, take the total width of the wall and deduct the width that will be taken up by the panelling strips eg if your panel strips are 5cm each and you plan to have nine panels then there will be ten strips (remember to add an extra one so you have one at each end) so 50cm will be strips. Deduct from the total width and divide what’s left by the number of panels.
For example, if your wall is 3m wide (300cm), you want 8 panels in total and your panelling strips are 5cm each, the calculation would be as follows
300 – (9*5cm) = 255cm
255cm / 8 = 31.875
Therefore, the gap between each of the panelling strips will be 31.875cm.
Tip: Don’t worry if that seems very specific, once the panelling is on the wall, the eye can’t notice differences in panel width of less than 1cm so you have a bit of tolerance for errors!
To determine the length of the shaker panelling strips, you need to take the height up the wall that you want the panelling to reach and then deduct the height of your skirting board plus the horizontal panels on the bottom rail of the panelling and the wood strips on the top rail plus a dado if you have one.
2. Cut the strips of mdf
I recommend getting the MDF strips cut for you unless you have an electric saw. Even if you have a great circular or jigsaw, it’s tempting to use the cutting service provided by B&Q as they make the first few cuts for free then charge 50p per cut after that. If you make the cuts along the long side of the large mdf sheets (2.4m in length) then you have the easy job of cutting them to the correct length. If you don’t live near a B&Q, I found a great service via eBay where each MDF strip cost £1 and was cut to the exact width and length – much much cheaper than all these online panelling kit companies that are popping up and charge hundreds of pounds for wall panelling kits.
If you make your own cuts, clamp the wood in place to hold it still and use a guide rail to ensure the strips are perfectly even.
Tip: Check the edges of the panel strips and sand if necessary to ensure they are really smooth.
3. Position the panels

It pays to really nail the planning for wall panelling projects, so you might choose to draw the panel placement on the walls or mark them with masking tape first. Another alternative is to actually stick the pre-cut panels onto the wall in their intended positions with masking tape to confirm everything fits perfectly before you let loose with the glue. Use a laser level or straight edge to ensure they are installed in a straight line.
Tip: Ensure the wall surface is in good condition and free from any debris or imperfections. You don’t want the overall look of your newly panelled wall brought down by chunks missing from the wall surface.
4. Install the Panels

Begin by installing the lower portion of your wall panels along the entire length of the wall; these are easy because they rest on the skirting board, so you don’t have to worry about propping them In position as you do with some panels.
- Apply grab adhesive to the back of each MDF strip and press firmly onto the wall.
- Wipe away any excess glue that seeps out behind the panels.
- Depending on how high on your wall they are installed, you might need to cut out sections from the MDF strips as you come to sockets.
Tip: You might also need to work around radiators and pipework – each wall will be different.
Next, it’s time to install the vertical panels
- Matching them up to the markings or in place of the masking tape you used to confirm the layout.
- Ensure all panels are securely attached to the wall with extra hold from instant grab adhesive if necessary.
5. Fill any gaps

Fill any small holes or gaps between panels with decorator’s caulk. This is such an important step as you really want seamless joins.
You can buy caulk in a tube, but it’s more cost-effective to buy larger cartridges that are applied using a caulking gun. If it’s useful read my tutorial on how to use a caulking gun.
Finish the installation by caulking any gaps between panels and the skirting board for a seamless finish.
Sand the filled areas once dry to create a smooth surface before priming.
Sweep and wipe away any dust from sanding before priming; otherwise, this will mess up the primer.
6. Prime the mdf

MDF is an incredibly porous material and soaks up paint so I always use a specific MDF primer first.
It usually takes a couple of coats and applying with a mini roller saves a lot of time vs a paintbrush and gives a more even finish too.
Use old sheets to protect the floor before priming.
7. Paint the shaker wall panelling

Paint the shaker-style wall panels and the wall surface inside the panels.
You can use a scrubbable emulsion if you like a matt finish, or I find an eggshell finish works well on wall panelling as it gives a very slight sheen and is very resilient, ideal for panelling in high-traffic areas like hallways and stairs. Read my stairs panelling tutorial here.
Optional extras for shaker wall panelling
- Add Dado Rail for added visual interest; consider installing a dado rail along the upper strip of panels. This can help define the upper portion of the wall and create the illusion of a larger space.
- Add strip moulding inside the edges of the wall panels for depth and texture. This is a slightly fiddly job, but it will really elevate the final look. You’ll need to cut mitre joins for the corners of the moulding,
As you can see, shaker style wall panels are the easiest style of interior wall panel to install as they have such a simple design and don’t require mitred cuts because the vertical panels are butted up against the horizontal ones, as opposed to joining together in the way you cut the angles for picture frame moulding style panelling.
I’ve also written tutorials on how to install tongue and grove wall panelling, stairs panelling and fluted mdf panelling in case they are useful.
Where next?
Here are some other panelling-related posts you might enjoy…
Best wood panelling for stairs – ideas and inspo
Stair panelling – how to template the angles
Half-wall panelling ideas and inspo
Wallpaper panelling – get the look without the cost
MDF wall panels – DIY wall panelling made easy
Scroll down to the bottom of the page to subscribe to my newsletter.


